How to set up DNAT redirection mode for the WAF 2.0 module:
As of BitNinja version 2.29.5, the default redirection mode in the WAF module is the Transparent mode. So if you wish to use the X-Forwarded-For header in your web server you have to set up the WAF redirection mode to DNAT.
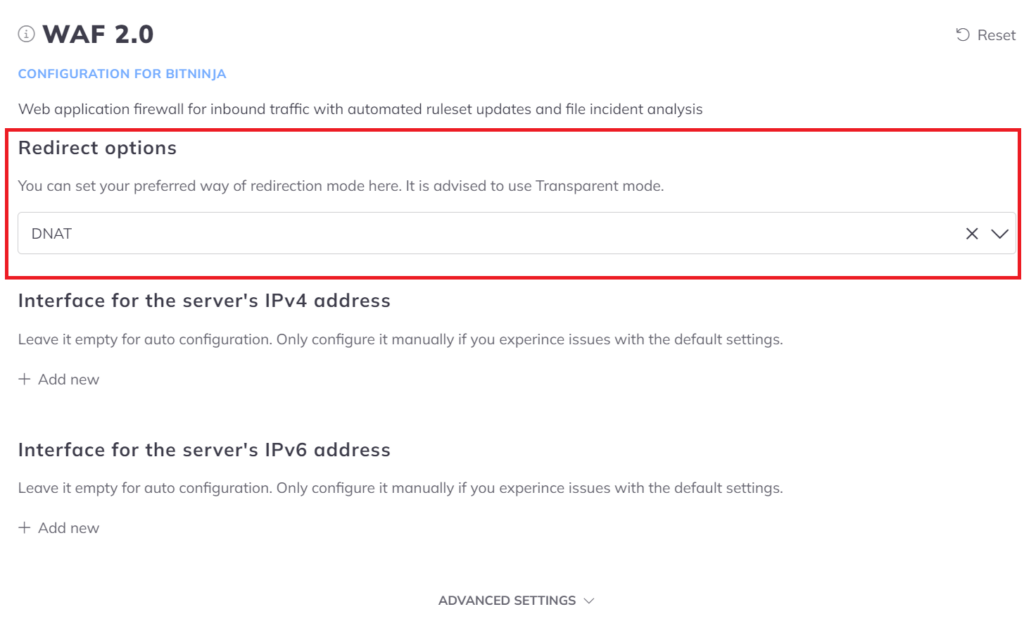
Step-by-step guide:
- Open the Configuration menu on your BitNinja dashboard.
- Select the setting level on the left side. (server-level, server group-level, account-level)
- Select the WAF 2.0 module on the left side
- Change the “Redirect options” parameter to “DNAT”
- Click on the Save button at the top of the screen.
- Restart BitNinja with
service bitninja restartcommand.
Now proceed with setting up the X-Forwarded-For header.
WAF Pro (Caddy-based)
Since Caddy webserver supports only DNAT redirection type, in case you would like to see the real requester IP addresses in your webserver logs you must set up the X-Forwarded-For header.
To assist you better please select your control panel below.
If you use any sort of CDN or Proxy in front of the server. Or your users use CDN services then we will need to set up the X-Forwarded-For header to enable the BitNinja agent to see the real IP addresses of the visitors.
Enable Trusted Proxy
You will also need to enable the Trusted Proxy module from the Dashboard and add the proxy’s IP address or the CDN’s IP ranges. You can do that here: https://admin.bitninja.io/trustedProxy
You can add all the IP ranges in one go if you separate them with a comma and space.
You will also need to enable the Trusted Proxy module from the Dashboard and add the proxy’s IP address or the CDN’s IP ranges. You can do that here: https://admin.bitninja.io/trustedProxy
You can add all the IP ranges in one go if you separate them with a comma and space.