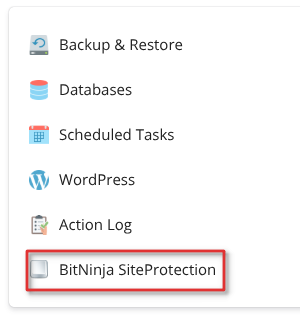

To make the BitNinja SiteProtection Plugin appear for your users as well, we have to create a service plan and assign it to your plans.
To do this, please log in to Plesk as an administrator:
Creating a new Service plan#
- In the left-hand menu bar, select Service Plans.
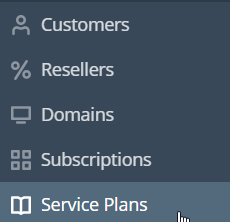
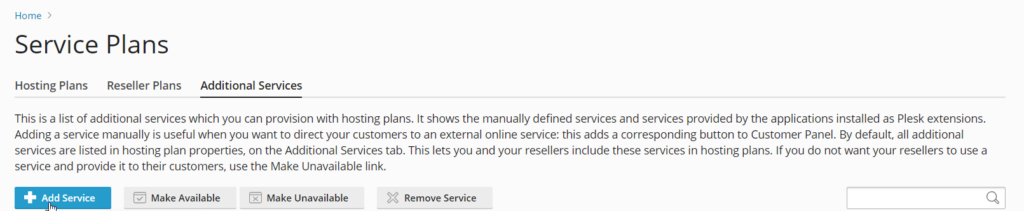
- Here, Switch to the Additional Services tab.

- Next, you need to create a new service. Click on the Add Service Button.
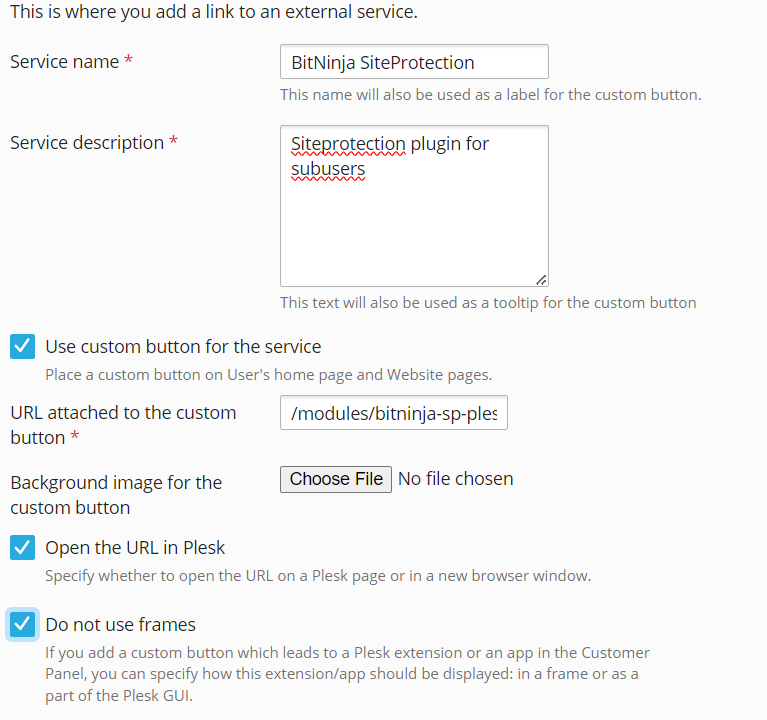
- Fill in the following data in the form:
Service Name: BitNinja SiteProtection
Description: Siteprotection plugin for subusers.
Tick: Use custom button for the service
URL attached to the custom button:
/modules/bitninja-sp-plesk-extension/index.php
Tick: Open the URL in Plesk
Tick: Do not use frames.
Leave the remaining options Off default.
- Then (click OK to save).
Assign service to your Service Plan#
Following this, it needs to be assigned to the client's Service Plans because Plesk Users are assigned to service plans.
- Navigate back to the Service Plans menu.
- Select a Service from the Service Plans list.

- Here, navigate to the Additional Services menu and tick BitNinja SiteProtection as an Other Service.
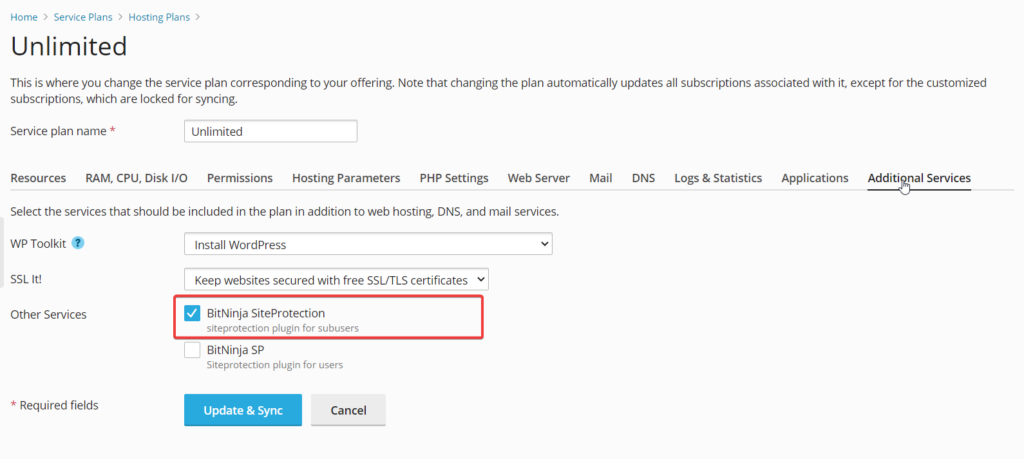
- Finally, click on the Update & Sync Button.
After that, when a user logs in, they should be able to find our link in the right-hand menu.
How to use the Plugin#
Login as one of your Customers in the Plesk panel.
Select the SiteProtection module from the right-hand menu.
Select a domain.
If everything is added correctly, it should look something like this: